What is the recommended exposure time for northern lights photography
The recommended exposure time for Northern Lights photography can vary based on factors such as the intensity of the auroras, the ambient light conditions, and the desired effect you want to achieve in your photographs. Here are some general guidelines to help you determine the exposure time for capturing the Northern Lights:
Start with Shorter Exposures:
Begin with 1600 ISO and shorter exposure times, typically around 4 to 8 seconds. Short exposures help prevent star trails and capture the dynamic nature of the auroras.
Adjust Based on Aurora Brightness:
Pay attention to the brightness of the auroras in the sky. If the Northern Lights are relatively faint, you may need longer exposures to capture more light or raise the ISO. Conversely, during intense displays, shorter exposures can prevent overexposure.
Monitor Histogram and Blinkies:
Use the camera’s histogram and highlight (blinkies) feature to assess the exposure. Aim for a well-balanced histogram without significant clipping in the highlights or shadows. Adjust exposure time accordingly.
Consider ISO and Aperture Settings:
The exposure time is interconnected with ISO and aperture settings. If you’re shooting with a wide aperture (low f-number) and high ISO to gather more light, you may need shorter exposure times.
Experiment with Bracketing:
Bracketing exposures can help you capture a range of brightness levels, allowing you to choose the best exposure during post-processing. This is particularly useful when the auroras vary in intensity.
Prevent Star Trails:
If you want to avoid star trails, especially when using a longer focal length, adhere to the “500 Rule” or “NPF Rule.” Divide 500 by your focal length to determine the maximum exposure time (in seconds) before star trails become noticeable. For example, with a 14mm lens, 500 ÷ 14 ≈ 35 seconds.
Test and Adjust:
Experiment with different exposure times and review the results on your camera’s LCD screen. Adjust settings based on the feedback from your test shots.
Shoot in RAW:
Capture images in RAW format to retain more information, providing greater flexibility during post-processing to fine-tune exposure.
Adapt to Changing Conditions:
Be prepared to adjust exposure settings as the intensity of the auroras and ambient light conditions change. Keep an eye on the overall brightness of the scene.
Thing to remember
As a starting point use the largest aperture (low f-number), try exposures in the range of 4 to 10 seconds and adjust based on the specific conditions you’re encountering. The goal is to achieve a well-exposed image that showcases the vibrant colors and dynamic movement of the Northern Lights while maintaining sharpness and minimizing noise.
Resent Aurora articles
Best Northern lights cameras
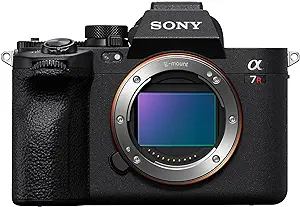
Sony A7R V
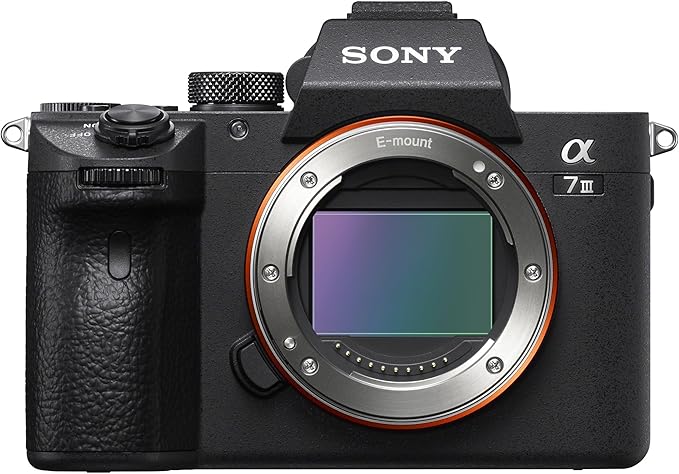
Sony A7s lll
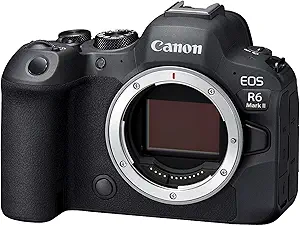
Canon R6
Nikon Z6 lll
Best Northern lights lenses
Sony FE 24-70 mm F2.8
Sony FE 16-35mm F2.8
Canon EF 16–35mm f/2.8L

Nikkor AF-S 14-24mm f/2.8

Best Northern lights prime lenses
Sony FE 20mm F1.8

ZEISS Batis 18mm f/2.8
Rokinon 14mm F2.8
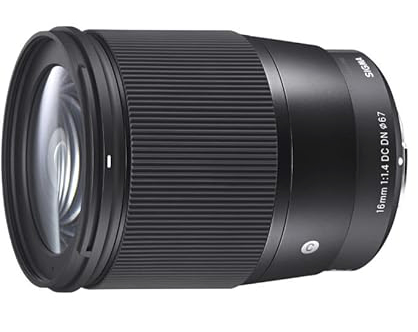
Sigma 16mm f/1.4