how to take pictures of the northern lights
The Northern Lights, or Aurora Borealis, paint the night sky with a breathtaking display of colors, offering photographers a unique opportunity to capture the celestial symphony. With the right equipment and techniques, photographing the Northern Lights with a DSLR camera can result in stunning and memorable images. In this guide, we’ll explore step-by-step tips to help you master the art of Northern Lights photography.
1. Choose the Right Equipment:
DSLR Camera:
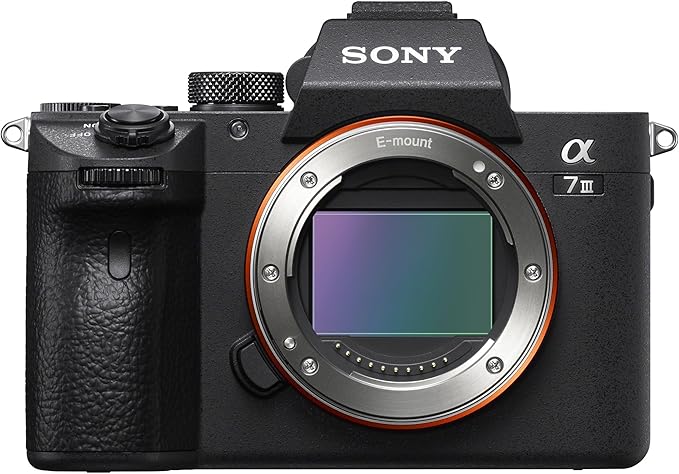
Use a DSLR or mirrorless camera with manual settings to have full control over exposure and focus.
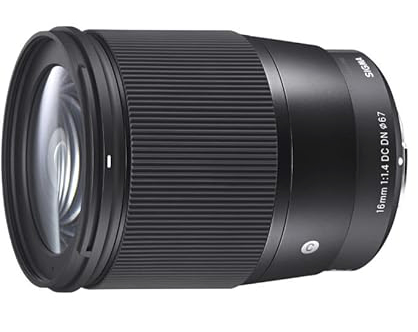
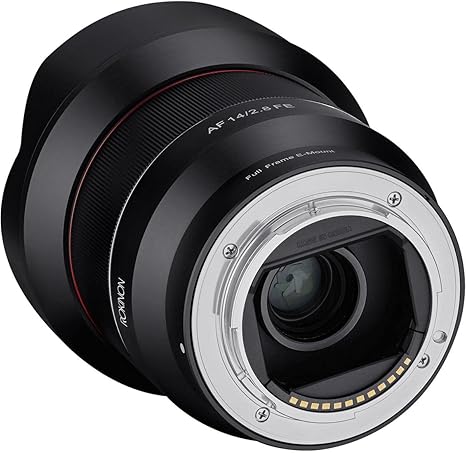
Wide-Angle Lens:
Opt for a wide-angle lens with a low aperture (f/2.8 or lower) to capture more of the night sky and allow more light into the camera.
Sturdy Tripod:
Invest in a sturdy tripod to keep your camera stable during long exposures, preventing blurriness in your images.
Remote Shutter Release:
A remote shutter release or intervalometer helps minimize camera shake when triggering the shutter, especially during long exposures.
Fully Charged Batteries:
Cold temperatures can deplete batteries quickly. Ensure you have fully charged batteries and consider bringing spares for extended shooting sessions.
2. Choose the Right Location and Time:
Dark Sky Location:
Select a location with minimal light pollution to maximize visibility of the Northern Lights. National parks or remote areas are ideal.
Check Aurora Forecast:
Monitor the aurora forecast to plan your shoot during periods of heightened geomagnetic activity. Websites and apps like aurora.is vedur.is provide good information.
Avoid Moonlight:
Shoot during a new moon or when the moon is below the horizon to minimize its light interference. If there is moonlight use it to your advantages to light up the foreground.
3. Camera Settings:
Manual Mode:
Set your camera to manual mode (M) to have full control over settings.
Wide Aperture:
Use a wide aperture (low f-number) such as f/2.8 to allow more light into the lens.
High ISO:
Start with a high ISO setting (e.g., ISO 800-3200) to capture the faint auroras in low light conditions.
Shutter Speed:
Experiment with different shutter speeds. Start with a 4-10 second exposure and adjust based on the aurora’s brightness. Avoid excessively long exposures to prevent star trails.
4. Manual Focus:
Infinity Focus:
Set your lens to manual focus and adjust it to infinity. Use Live View and zoom in on a bright star to fine-tune focus if needed.
5. Composition:
Foreground Elements:
Include interesting foreground elements to add depth and context to your images. Silhouettes of trees, mountains, or bodies of water work well.
Rule of Thirds:
Apply the rule of thirds to compose your shots. Place the horizon or significant elements in the frame along the imaginary lines or intersections.
6. Shooting Techniques:
Bracket Exposures:
Bracket your exposures to capture a range of brightness levels. This can help when post-processing to bring out details in both the auroras and the foreground.
Capture RAW Images:
Shoot in RAW format to retain more information and have greater flexibility during post-processing.
Experiment with White Balance:
Try different white balance settings to achieve the desired color temperature. Start with the “Daylight” or “Tungsten” settings and adjust as needed.
7. Post-Processing:
Lightroom/Photoshop/affinity photo/capture one:
Use post-processing software like Adobe Lightroom,Photoshop or affinity Photo to enhance and fine-tune your images. Adjust exposure, contrast, and colors to bring out the best in your Northern Lights photographs.
Stacking Images:
Consider stacking multiple images to reduce noise and enhance the visibility of faint auroras.
Conclusion:
Photographing the Northern Lights with a DSLR camera is a rewarding and awe-inspiring experience. By selecting the right equipment, choosing optimal shooting locations, and mastering key camera settings and techniques, you can capture the mesmerizing beauty of the auroras in all their celestial glory. Remember to be patient, experiment with different settings, and enjoy the magical dance of lights unfolding above the northern skies.
Resent Aurora articles
Best Northern lights cameras
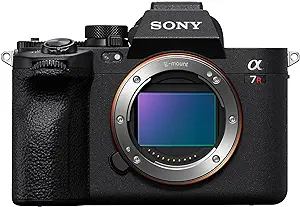
Sony A7R V
Sony A7s lll
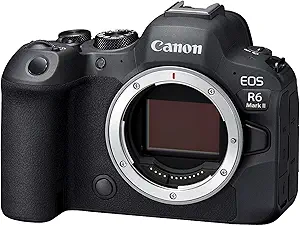
Canon R6
Nikon Z6 lll
Best Northern lights lenses
Sony FE 24-70 mm F2.8
Sony FE 16-35mm F2.8
Canon EF 16–35mm f/2.8L

Nikkor AF-S 14-24mm f/2.8

Best Northern lights prime lenses
Sony FE 20mm F1.8

ZEISS Batis 18mm f/2.8
Rokinon 14mm F2.8
Sigma 16mm f/1.4